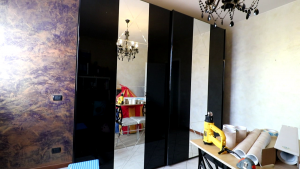
Let’s see together the complete renovation process of a wardrobe.
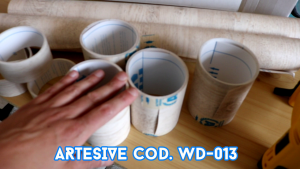
We decide to use WD-013 film, which we have divided into rolls of different widths for the various parts.
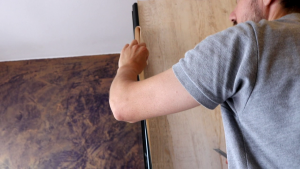
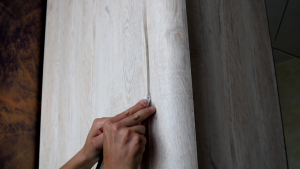
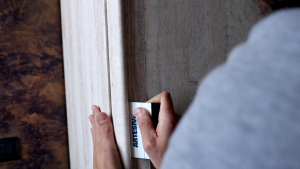
We begin to apply the film on the facades of the doors.
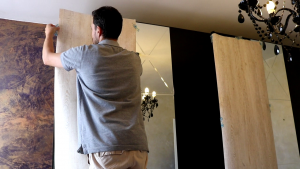
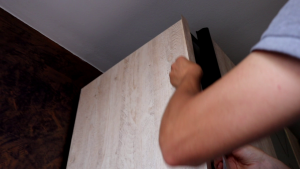
For now, we don’t worry about the edges. With the help of the spatula we push the film inside the crack, trying to make it adhere to the inner edge.
With the cutter we remove the excess film on all sides of the door.
We do the same for all the other doors. Remember that the strips removed can be used to cover other parts!
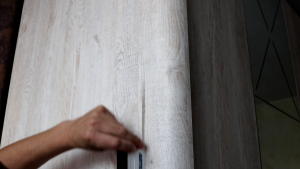
We also cover thin profiles, like the one above.
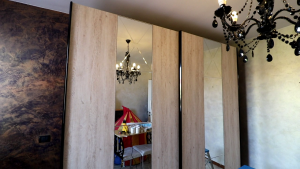
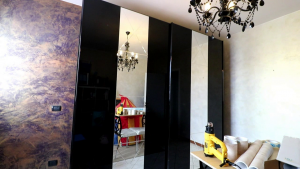
This is the result for the front:
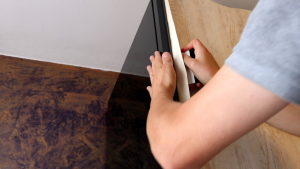
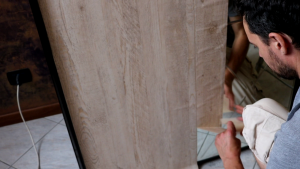
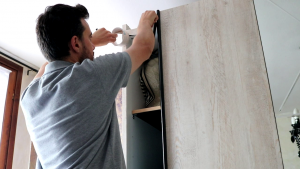
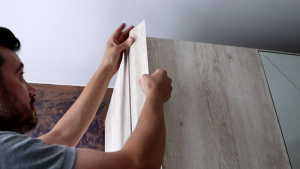
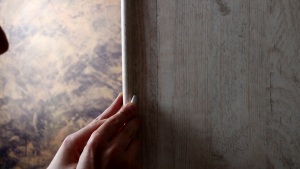
Let’s now pass to the second phase: the application on the sides.
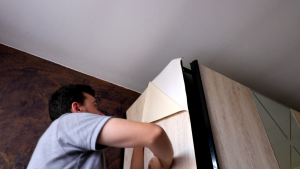
Once an application is finished, we heat the edges with the heat gun, so that the film adheres better.
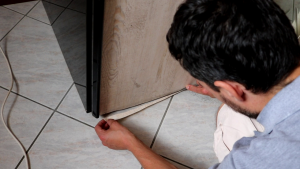
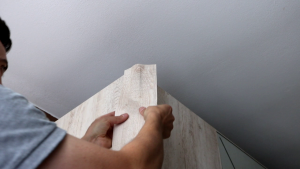
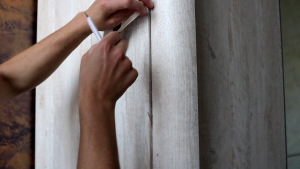
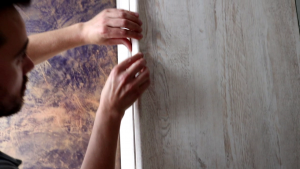
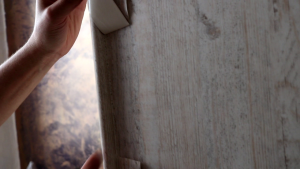
On completion we use a thin strip of film to cover the edge. Let’s apply it in the center, then we’re going to trim all the sides to remove the excess material.
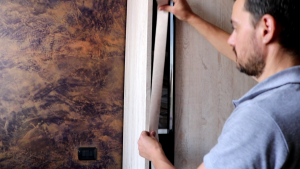
Let’s remember to cover all the inner edges.
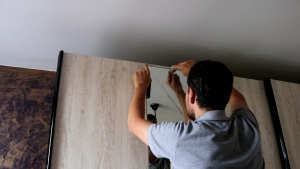
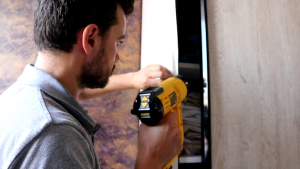
Now let’s move on to the third phase, the one that involves the most attention: covering the wardrobe handle.
We engrave the crack with the spatula and then cut the excess part with the cutter.
We model the film on the bevel of the handle to make it adhere well and close it on the other side.
We press with the spatula to define the shape with the cutter we remove the excess part, leaving a minimum margin so that no crack is visible.
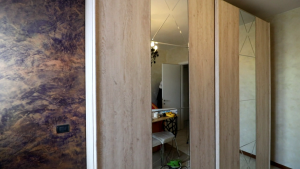
This is the final result, compared with the original wardrobe:
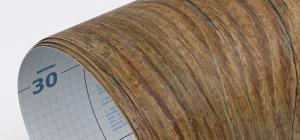 Wood Effect Vinyl Films
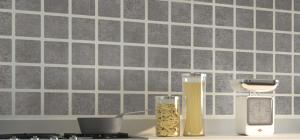
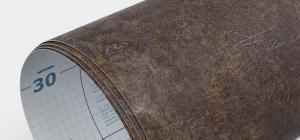 Stone Effect Vinyl Films
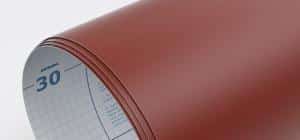 Solid Colours Vinyl Films
 Window Films
 Modern Vinyl Films
 Specials Films