Before application.
Temperature for correct application: 15/35 ° C
In case of application during the winter months it is good practice to leave the material inside the work environment for at least 48 hours.
Support Preparation.
– Free the surface from any removable object (furniture, vases, carpets …)
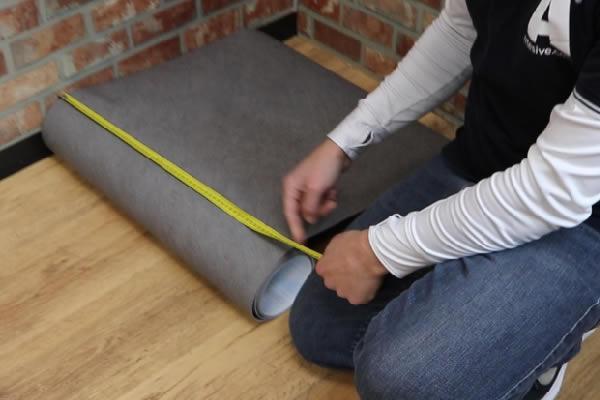
– Measure accurately the surface to be renewed taking into account the width of the roll you want to order
– Perfectly clean the surface to be coated making sure to remove any possible residue of dirt or imperfection.
– Check for any fixed obstacles during the measurement, considering that cuts will be made near them to facilitate application.
How to Apply.
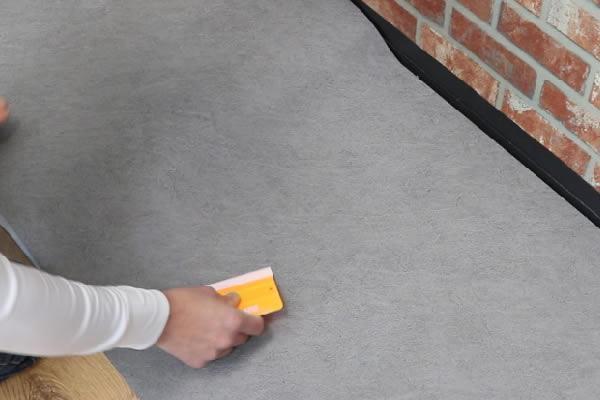
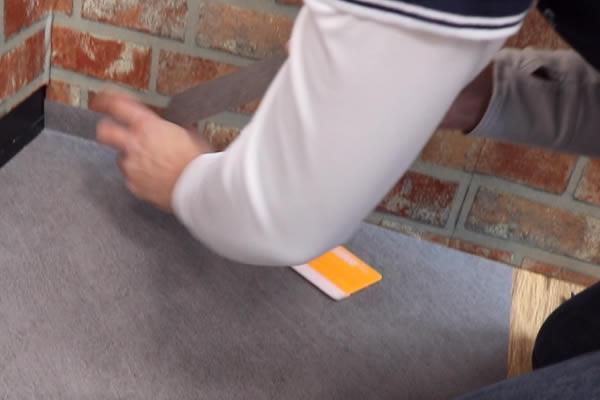
The application of the film is done like any film. Just remove the back paper and proceed with application using the special spatula (sold here).
For easier application, we recommend unrolling and positioning each strip already laid on the ground, leaving it for a few hours if necessary.
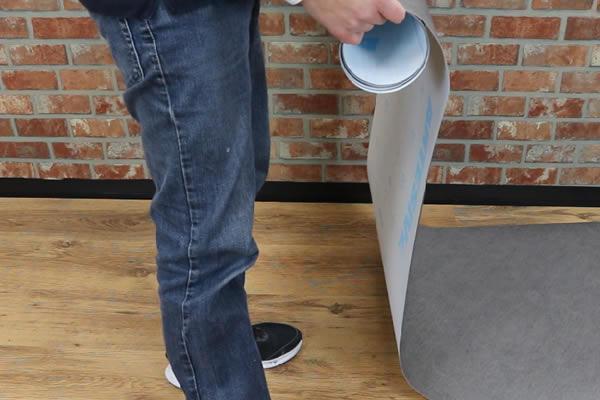
If it is applied to the ground, it is normally proceeded by bands. Starting from one side of the floor, it is applied along the starting side and proceed by applying the other bands one after the other.
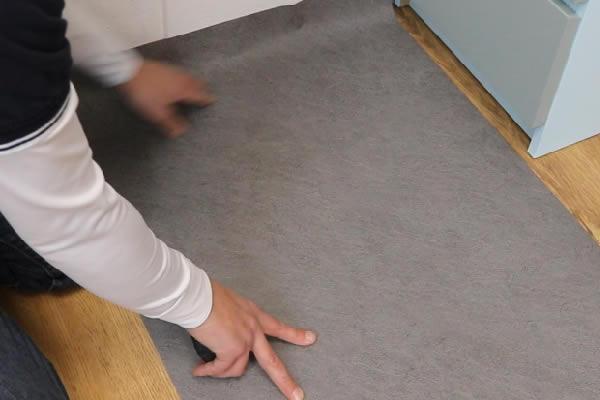
The back paper is removed as it is applied using the spatula. At this stage it is important to make sure that the band is applied correctly. You can get help by using some paper tape to secure the band and make sure it doesn’t move.
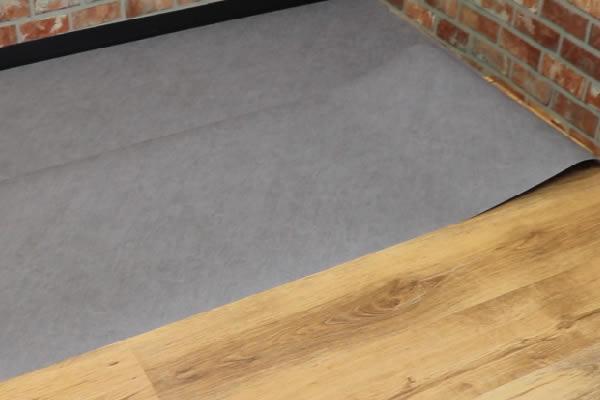
The back paper is removed as the film is applied. It is a good idea to always leave a flap when removing the back paper so that it can be removed more easily and without the risk of tearing. Avoid getting the back paper wet.
When you get to the corner of the surface it is engraved at the point of the outer edge and applied leaving the film in abundance along the edge so that even in case of slightly crooked application, every point is covered correctly.
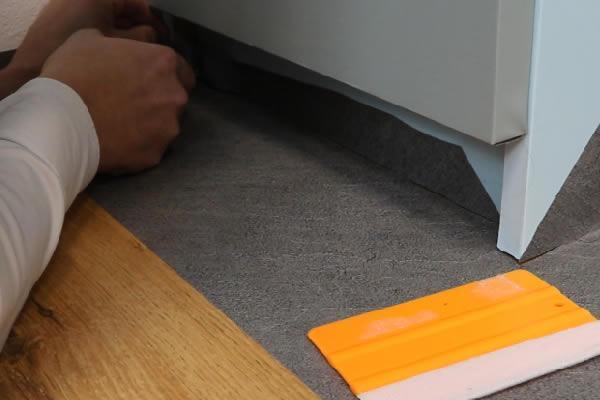
If obstacles are encountered between one band and the other, such as fixed furniture, wall edges or the like, it is necessary to remove the excess film, leaving however a margin of abundance of at least 5 / 10cm to help the application.
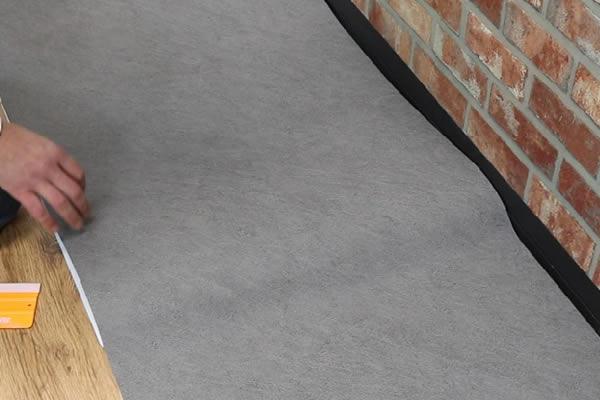
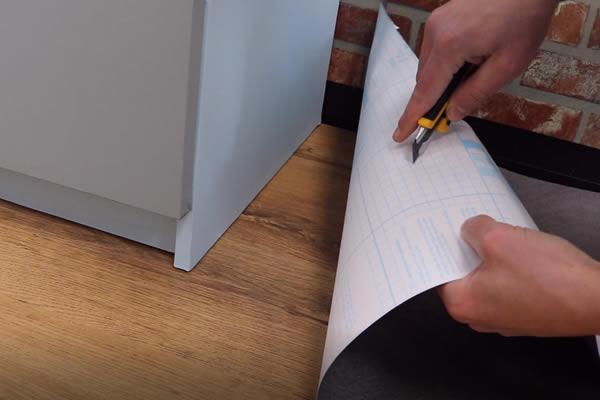
Once all the band has been applied, proceed with the removal of any excess film along the edges. Using a cutter, cut into the edge of the edge and remove the excess film.
Each strip of film can be placed side by side without overlapping. To proceed to place two bands side by side it is possible to proceed by removing only 2cm on the long side in order to apply the part to be placed side by side more precisely.
Also in this case we suggest to proceed with the devolving of the subsequent bands by placing them on the ground.
Over time, the temperature difference could cause a slight shrinkage of the material, a completely natural phenomenon. This withdrawal does not compromise membership.
If desired, it is also possible to apply the single strip of film by completely removing the back paper first and applying it in a single moment. In this case it is necessary to be at least two people.
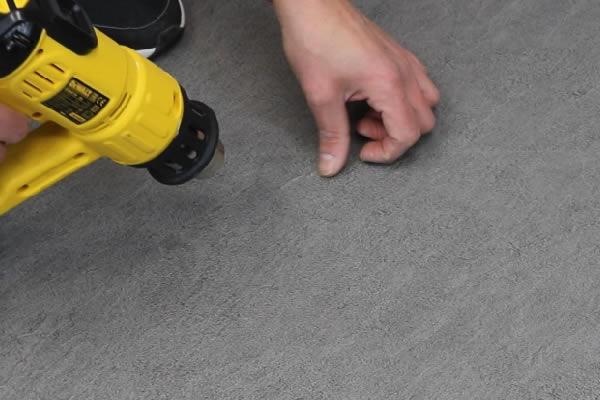
It is best to slightly heat the surface once applied to improve its adhesion and remove any air bubbles.
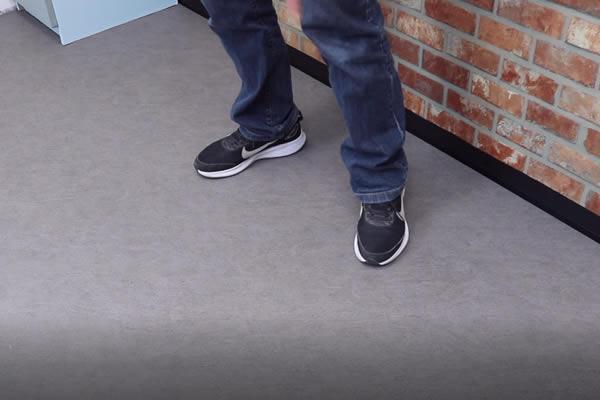
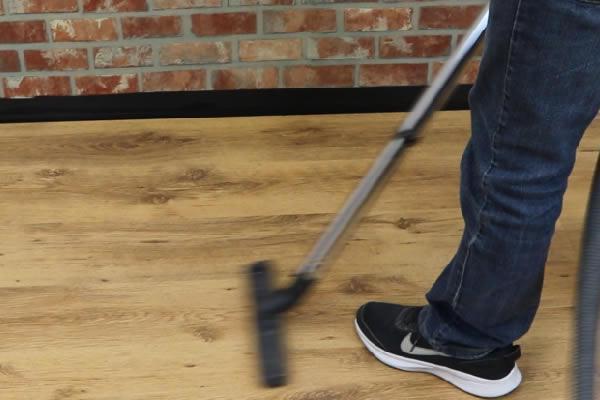
At the end of the application it is possible to walk on immediately, bearing in mind that the adhesive takes about 5/7 days to have an optimal grip.
Cleaning.
Cleaning is possible with a wet cloth and neutral detergent. It is important to dry the area in which any joints form as soon as possible.
In the event of oily liquids spilling it is important to clean and dry immediately especially in the area where any leaks form to prevent the oily liquid from penetrating under the film.
Below is a video to make it even easier for you
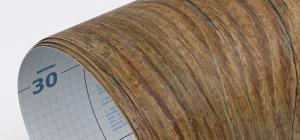 Wood Effect Vinyl Films
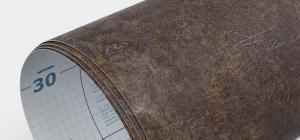 Stone Effect Vinyl Films
 Solid Colours Vinyl Films
 Window Films
 Modern Vinyl Films
 Specials Films